

前言
在學習 Flutter 串接 Firebase Authentication 服務,記錄一下操作過程。
原始碼:https://github.com/haunchen/google_signin_example
創建 Firebase 專案
前往 Firebase 透過 Google 登入後,創建一個專案。

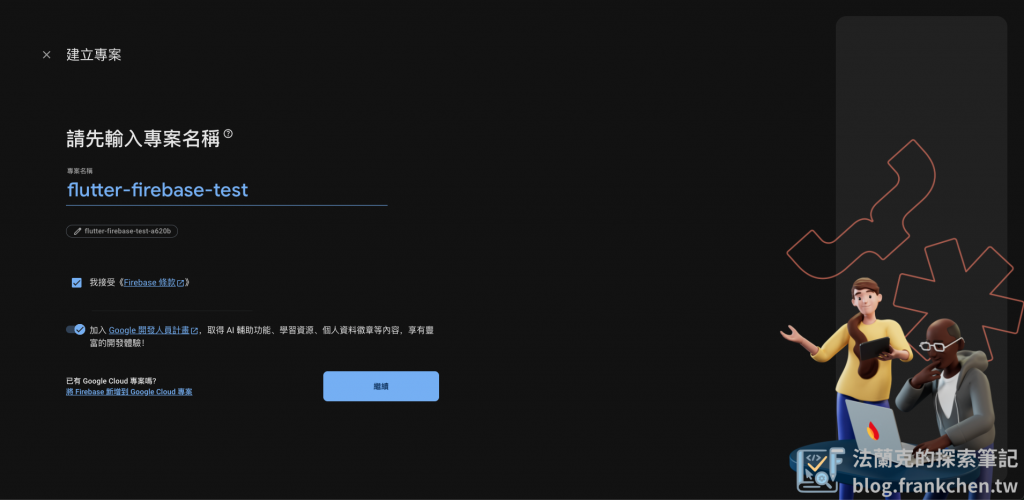
專案名稱可以隨意取,好辨別的都可以,這邊以「flutter-firebase-test」為專案名稱。取好名稱後,勾選接受條款,即可點擊”繼續”。
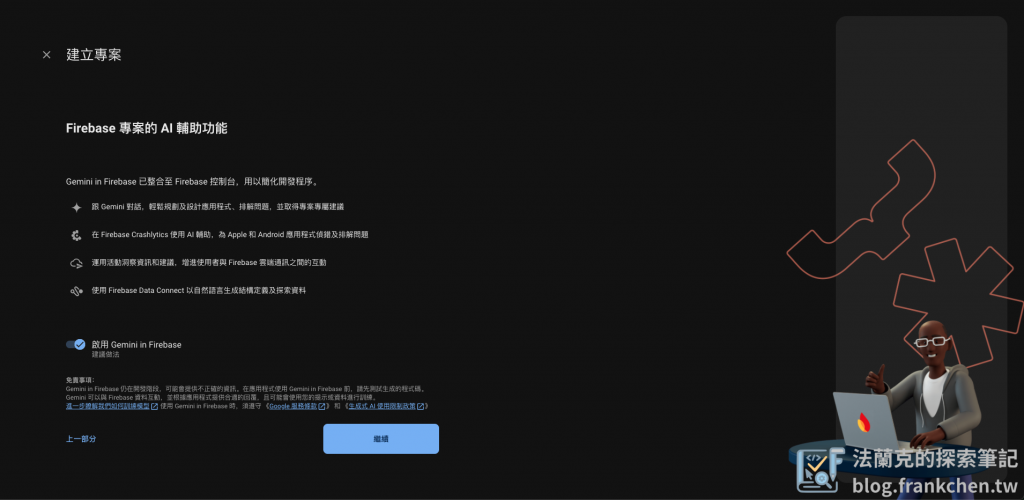
近期剛好 Google 在 Google I/O 上推出一系列的 AI 工具,所以會詢問你是否啟用 Genimi 輔助。
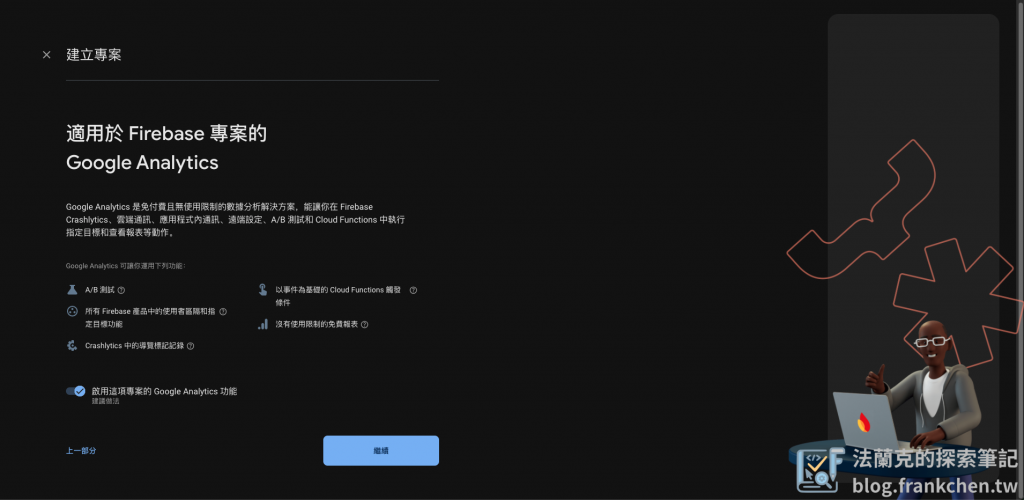
接著會詢問你是否開啟 Google Analytics,這裡可以依照 Google 的建議執行。
依照指示設定後,便會開始佈建專案,等待大約1~2分鐘後,建立完成。
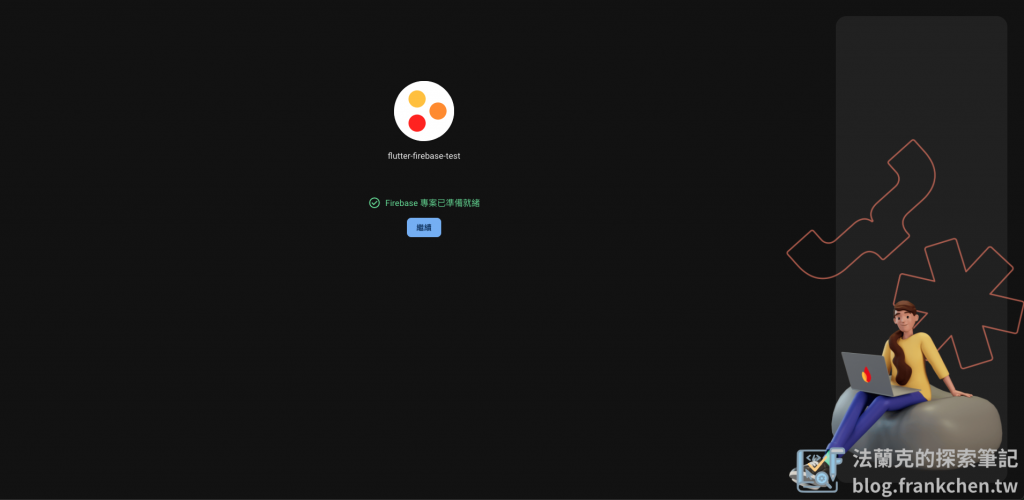
點擊”繼續“後,即會進到專案主畫面。
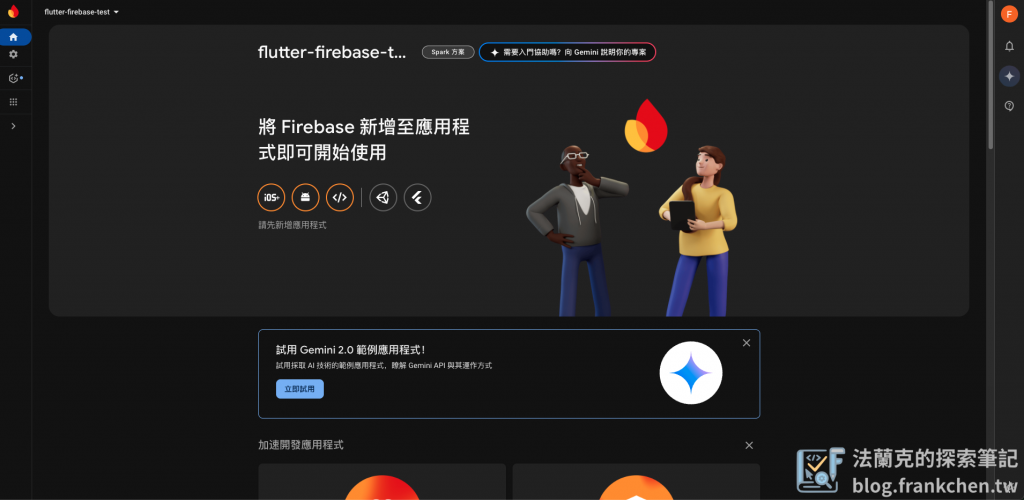
新增 Firebase 到應用程式中
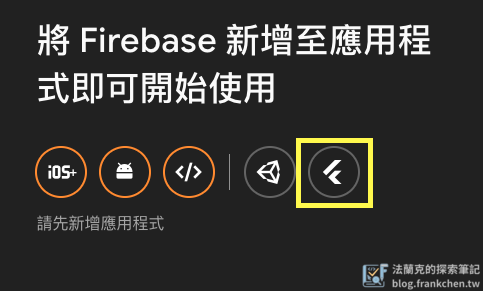
根據你的應用程式選擇,這篇以 Flutter 為例,選擇 Flutter 應用程式。
安裝 Firebase CLI
首先,需要在電腦上先安裝 Firebase CLI、Flutter SDK,跟著官方提供的安裝步驟即可安裝成功。
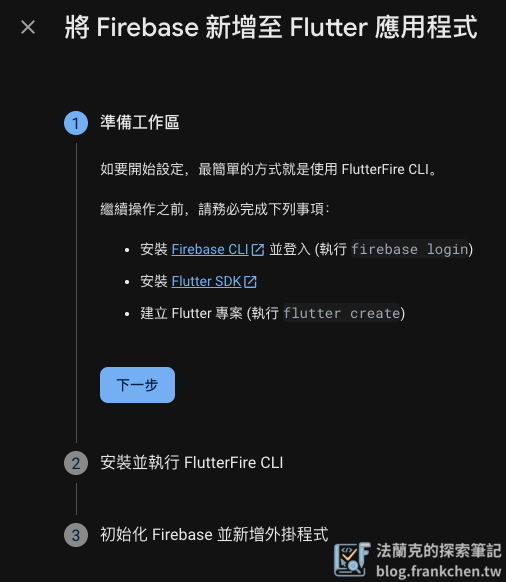
安裝完成後,請在終端機執行以下指令,登入 Firebase。
firebase login執行 Firebase CLI
接著根據官方步驟來到第二步,執行 Firebase CLI。
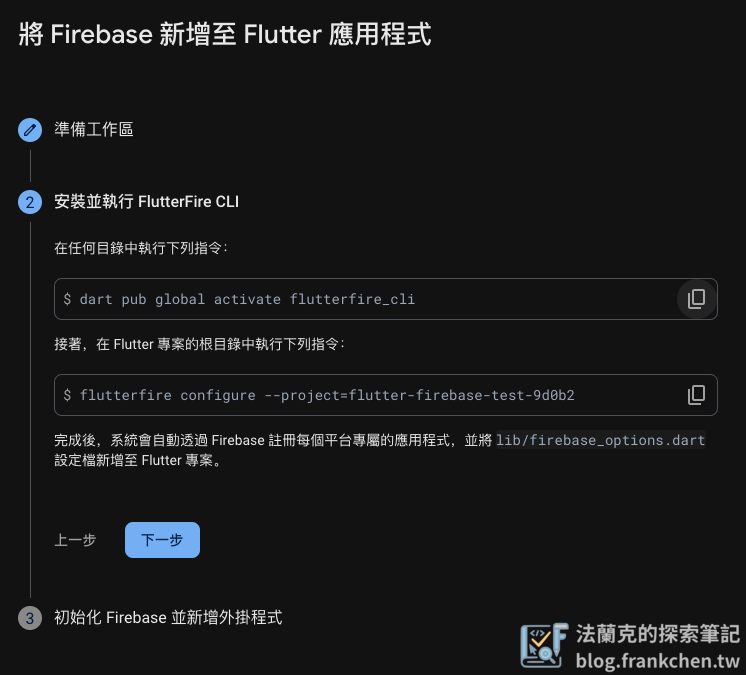
這裡為確保指令執行成功,建議這兩個指令都在Flutter 專案的根目錄下執行,首先先將 Firebase CLI 在 Flutter 環境中啟動。
dart pub global activate flutterfire_cli有看到以下畫面代表啟用成功。

再來,在你的Flutter 專案中註冊 Firebase。
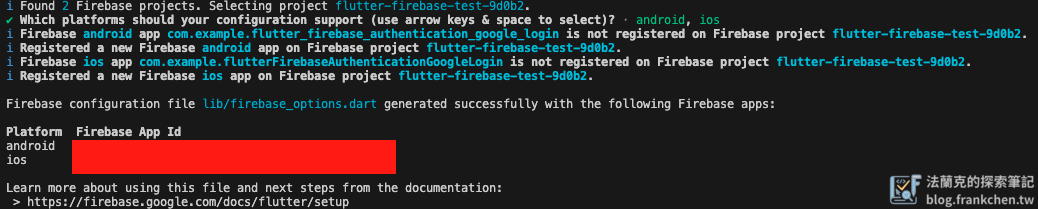
flutterfire configure --project=flutter-firebase-test-9d0b2這邊使用上下鍵移動,使用空白鍵選擇你這個專案預計使用的平台,這裡選擇 Android 及 iOS 兩平台,按下 Enter,就會開始將指令平台需要的檔案及設定安裝到你的 Flutter 專案中。

安裝完成後就會看到以下畫面,其中 Firebase Id 屬於敏感資料,請小心不要外流。
開啟 Firebase Authentication 服務
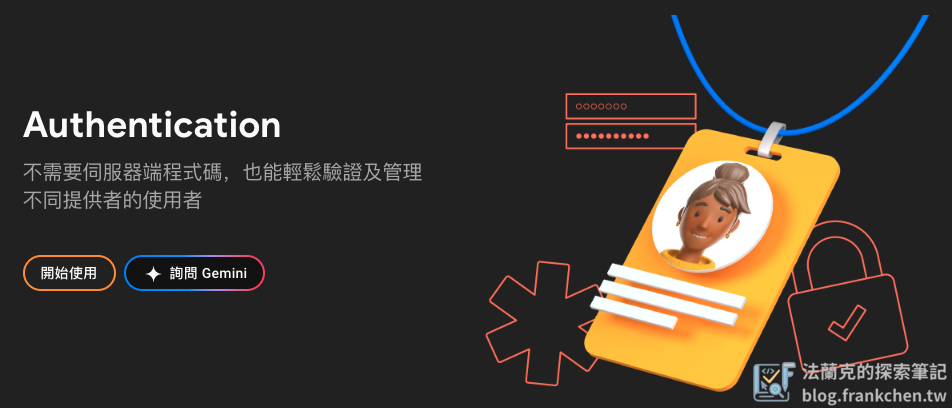
接著回到 Firebase 專案,找到 Authentication 並開啟該服務。
開啟後,會有多種登入方式供你選擇,這邊就以 “Google” 作為範例。勾選開啟 Google 後,需要提供應用程式的指紋,供 Firebase 驗證使用。
在終端機輸入以下指令產生指紋 (Fingerprints),密碼輸入”android”即可。
keytool -list -v -alias androiddebugkey -keystore ~/.android/debug.keystore產生指紋 (Fingerprints) 如下:

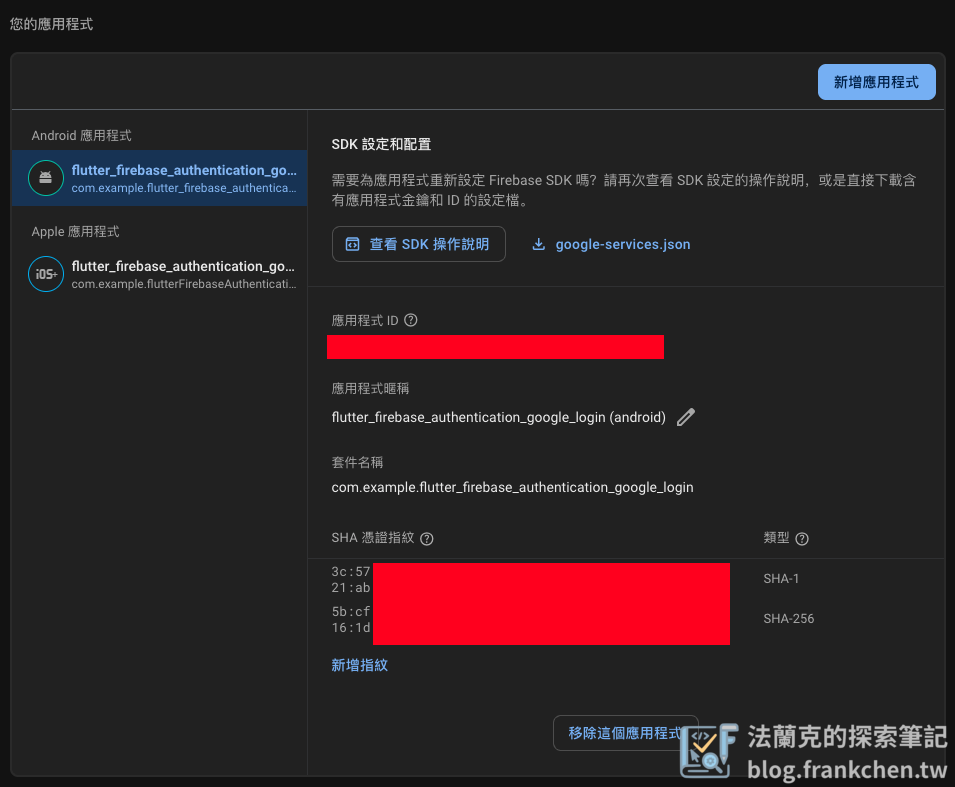
前往專案設定,找到 Android 應用程式,就會看到新增指紋的選項,,將這兩組指紋新增到 Firebase 專案中。
實作 Google 登入
以下為 main.dart 的程式碼
import 'package:flutter/material.dart';
import 'package:firebase_core/firebase_core.dart';
import 'package:firebase_auth/firebase_auth.dart';
import 'package:google_sign_in/google_sign_in.dart';
import 'firebase_options.dart';
/// 應用程式進入點
void main() async {
// 確保 Flutter 綁定已初始化,這是使用任何 Flutter 功能前的必要步驟
WidgetsFlutterBinding.ensureInitialized();
// 初始化 Firebase,使用當前平台的配置選項
await Firebase.initializeApp(
options: DefaultFirebaseOptions.currentPlatform,
);
// 啟動 Flutter 應用程式
runApp(const MainApp());
}
/// 主要應用程式類別
class MainApp extends StatelessWidget {
const MainApp({super.key});
@override
Widget build(BuildContext context) {
return MaterialApp(
title: 'Google 登入範例',
theme: ThemeData(
primarySwatch: Colors.blue,
),
home: const AuthScreen(), // 設定首頁為認證畫面
);
}
}
/// 認證畫面 - 處理 Google 登入/登出功能
class AuthScreen extends StatefulWidget {
const AuthScreen({super.key});
@override
State<authscreen> createState() => _AuthScreenState();
}
class _AuthScreenState extends State<authscreen> {
// Firebase 認證實例
final FirebaseAuth _auth = FirebaseAuth.instance;
// Google 登入實例
final GoogleSignIn _googleSignIn = GoogleSignIn();
// 當前登入的使用者
User? _user;
// 載入狀態標記
bool _isLoading = false;
@override
void initState() {
super.initState();
// 監聽認證狀態變化,當使用者登入/登出時自動更新 UI
_auth.authStateChanges().listen((User? user) {
setState(() {
_user = user;
});
});
}
/// Google 登入功能
Future<void> _signInWithGoogle() async {
// 設定載入狀態為 true,顯示載入指示器
setState(() {
_isLoading = true;
});
try {
// 觸發 Google 登入選擇帳號流程
final GoogleSignInAccount? googleUser = await _googleSignIn.signIn();
// 如果使用者取消登入,結束函數執行
if (googleUser == null) {
setState(() {
_isLoading = false;
});
return ;
}
// 從 Google 帳號取得認證資料(access token 和 id token)
final GoogleSignInAuthentication googleAuth = await googleUser.authentication;
// 建立 Firebase 認證憑證
final credential = GoogleAuthProvider.credential(
accessToken: googleAuth.accessToken,
idToken: googleAuth.idToken,
);
// 使用 Google 憑證登入 Firebase
await _auth.signInWithCredential(credential);
} catch (e) {
// 如果登入過程發生錯誤,顯示錯誤訊息
ScaffoldMessenger.of(context).showSnackBar(
SnackBar(content: Text('登入失敗:$e')),
);
} finally {
// 無論成功或失敗,都要關閉載入狀態
setState(() {
_isLoading = false;
});
}
}
/// 登出功能 - 同時從 Firebase 和 Google 登出
Future<void> _signOut() async {
await _auth.signOut();
await _googleSignIn.signOut();
}
@override
Widget build(BuildContext context) {
return Scaffold(
appBar: AppBar(
title: const Text('Google 登入範例'),
backgroundColor: Colors.blue,
),
body: Center(
// 根據使用者登入狀態顯示不同內容
child: _user == null ? _buildSignInButton() : _buildUserProfile(),
),
);
}
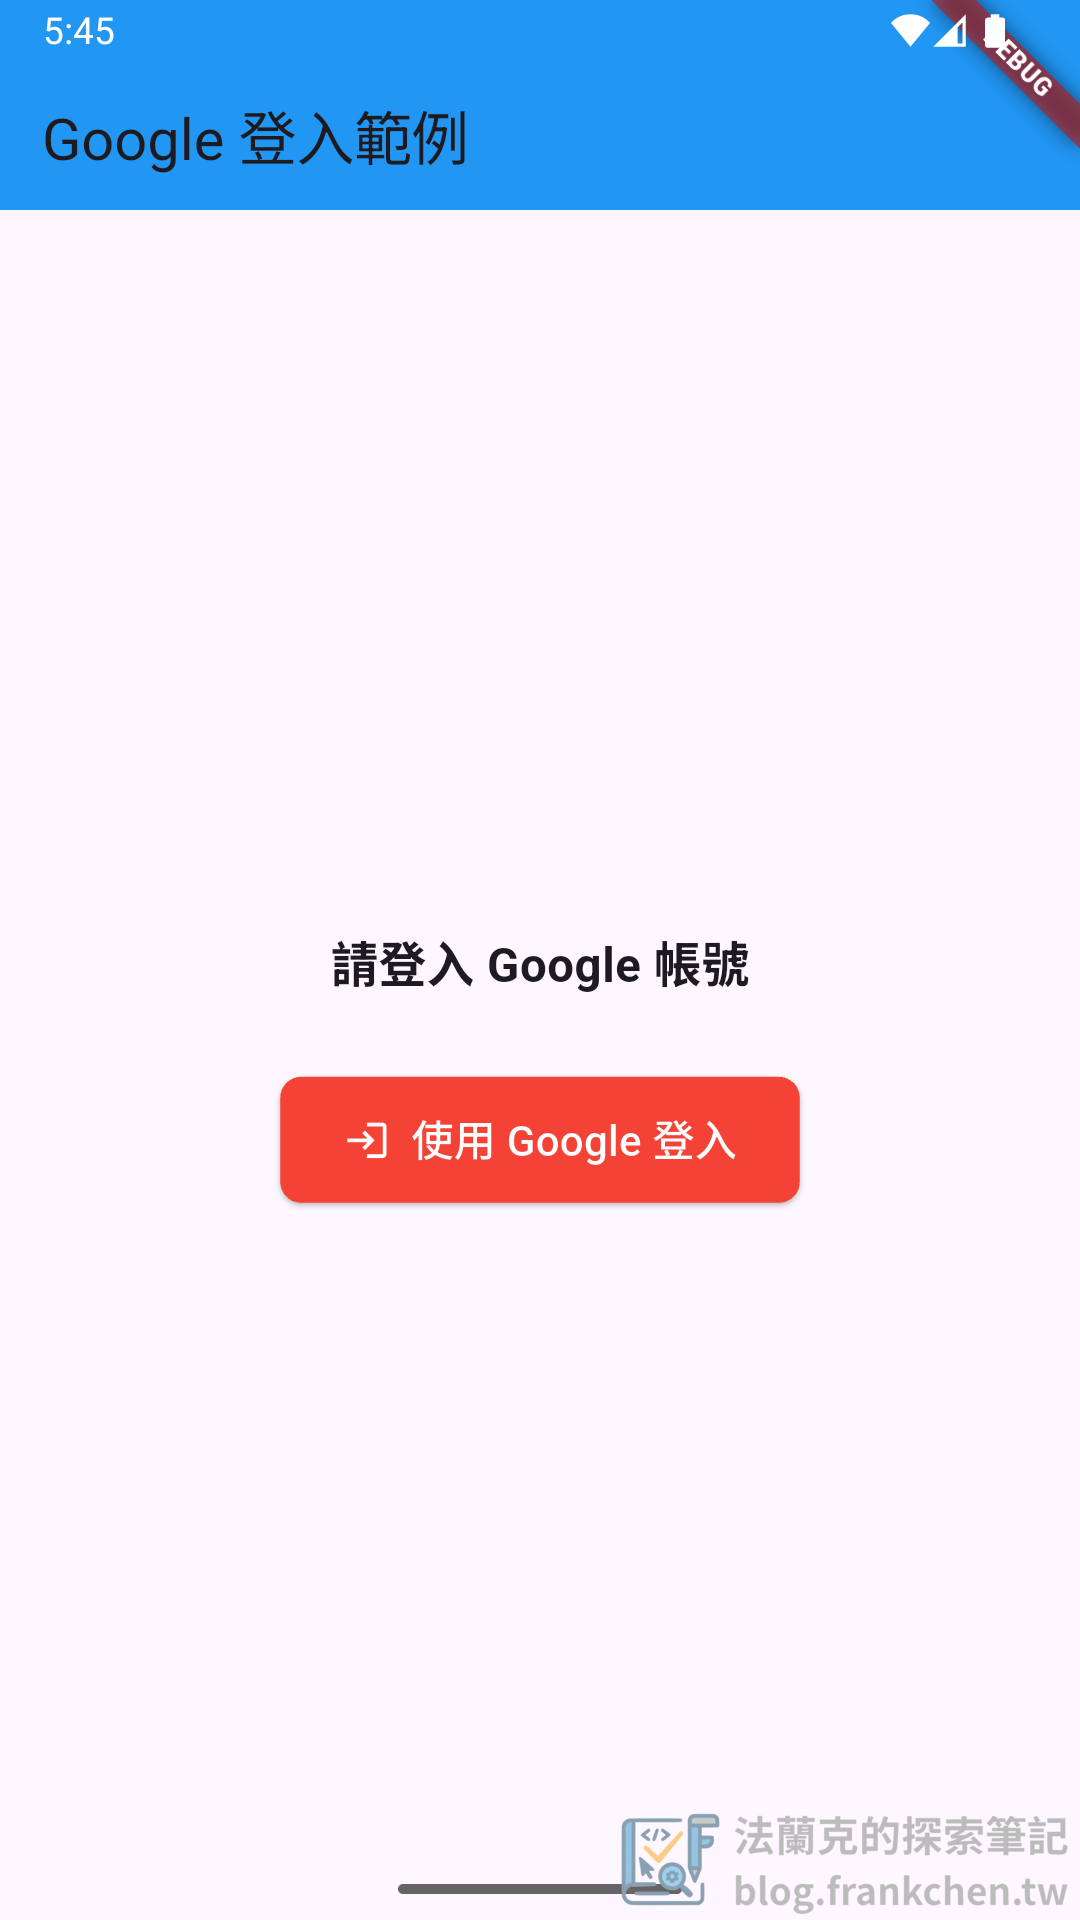
/// 建立登入按鈕 Widget(當使用者未登入時顯示)
Widget _buildSignInButton() {
return Column(
mainAxisAlignment: MainAxisAlignment.center,
children: [
const Text(
'請登入 Google 帳號',
style: TextStyle(fontSize: 18, fontWeight: FontWeight.bold),
),
const SizedBox(height: 30),
// 根據載入狀態顯示不同內容
_isLoading
? const CircularProgressIndicator() // 載入中顯示圓形進度指示器
: ElevatedButton.icon(
onPressed: _signInWithGoogle, // 點擊時執行 Google 登入
icon: Image.asset(
'assets/google_logo.png', // Google 標誌圖片
height: 24,
width: 24,
// 如果圖片載入失敗,顯示預設圖示
errorBuilder: (context, error, stackTrace) {
return const Icon(Icons.login, color: Colors.white);
},
),
label: const Text(
'使用 Google 登入',
style: TextStyle(fontSize: 16),
),
style: ElevatedButton.styleFrom(
backgroundColor: Colors.red, // Google 品牌色
foregroundColor: Colors.white,
padding: const EdgeInsets.symmetric(
horizontal: 24,
vertical: 12,
),
shape: RoundedRectangleBorder(
borderRadius: BorderRadius.circular(8),
),
),
),
],
);
}
/// 建立使用者資料 Widget(當使用者已登入時顯示)
Widget _buildUserProfile() {
return Column(
mainAxisAlignment: MainAxisAlignment.center,
children: [
// 使用者大頭照 - 圓形頭像
CircleAvatar(
radius: 50,
// 如果使用者有大頭照則顯示,否則顯示預設圖示
backgroundImage: _user?.photoURL != null
? NetworkImage(_user!.photoURL!)
: null,
child: _user?.photoURL == null
? const Icon(Icons.person, size: 50)
: null,
),
const SizedBox(height: 20),
// 歡迎訊息
const Text(
'歡迎',
style: TextStyle(fontSize: 24, fontWeight: FontWeight.bold),
),
const SizedBox(height: 10),
// 使用者顯示名稱
Text(
_user?.displayName ?? '未知使用者',
style: const TextStyle(fontSize: 20, fontWeight: FontWeight.w500),
),
const SizedBox(height: 10),
// 使用者 Email 地址
Text(
_user?.email ?? '',
style: const TextStyle(fontSize: 16, color: Colors.grey),
),
const SizedBox(height: 30),
// 登出按鈕
ElevatedButton.icon(
onPressed: _signOut,
icon: const Icon(Icons.logout),
label: const Text('登出'),
style: ElevatedButton.styleFrom(
backgroundColor: Colors.grey,
foregroundColor: Colors.white,
padding: const EdgeInsets.symmetric(
horizontal: 24,
vertical: 12,
),
),
),
],
);
}
}</void></void></authscreen></authscreen>實際操作介面
小結
以上是針對Flutter 串接 Firebase Authentication 方法,也歡迎大家直接下載原始碼自行編譯。